Kenmore Progressive Vacuum Manual: A Comprehensive Guide
Kenmore appliances seamlessly integrate into any home, offering a lifestyle-focused design with a broad range of products – from refrigerators to floor care solutions.
Understanding Your Kenmore Progressive Vacuum
Kenmore’s commitment to quality and innovation shines through its diverse appliance lineup, designed to complement modern lifestyles. Your Kenmore Progressive Vacuum represents this dedication, offering powerful cleaning capabilities and user-friendly features. This manual serves as a comprehensive resource, guiding you through every aspect of your vacuum’s operation, maintenance, and troubleshooting.
Whether you’re tackling hardwood floors, plush carpets, or delicate tiles, the Progressive series is engineered for optimal performance. Understanding its components – from the motor and filtration system to the various attachments – is key to maximizing its cleaning potential. Kenmore prioritizes durability, ensuring your appliance delivers reliable service for years to come. Explore the features and techniques detailed within this guide to unlock the full potential of your Kenmore Progressive Vacuum and maintain a consistently clean home environment.
Model Identification and Variations
Kenmore offers a wide array of Progressive Vacuum models, each tailored to specific cleaning needs and preferences. Identifying your exact model is crucial for accessing the correct parts, troubleshooting guides, and warranty information. Locate the model number on the vacuum’s housing, typically found on a sticker near the power cord or filter compartment.
Variations within the Progressive series may include differences in suction power, filtration technology (like HEPA), and included attachments. Some models feature bagless designs for convenient dirt disposal, while others utilize disposable bags. Kenmore continually updates its appliance lineup, introducing new features and improvements. Refer to your specific model’s documentation for detailed specifications and compatibility information. Understanding these nuances ensures optimal performance and longevity of your Kenmore Progressive Vacuum.
Key Features of the Progressive Series
The Kenmore Progressive Vacuum series is renowned for its blend of power, convenience, and innovative features designed to simplify your cleaning routine. A core benefit is its adaptable design, catering to diverse flooring types – from hardwood and tile to deep-pile carpets. Many models boast powerful suction capabilities, effectively removing dirt, dust, and debris.
Kenmore prioritizes user experience, incorporating features like adjustable suction control and a variety of attachments, including crevice tools and dusting brushes. Some Progressive vacuums include HEPA filtration, crucial for allergy sufferers, trapping microscopic particles. The series also emphasizes durability and reliability, backed by Kenmore’s reputation for quality appliances. These features combine to deliver a comprehensive cleaning solution for any home.
Assembly and Initial Setup
Kenmore appliances are designed for easy integration into your home, ensuring a smooth setup process for optimal performance and lasting convenience for users.
Unboxing and Parts Checklist
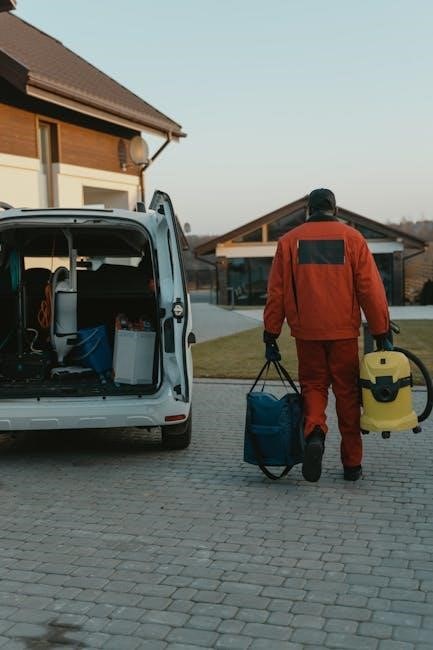
Upon receiving your new Kenmore Progressive Vacuum, carefully inspect the box for any signs of damage during shipping. Once confirmed, open the box and lay out all components on a protected surface to prevent scratches. Refer to the included parts list – typically found within the documentation packet – to verify that all items are present.
Essential components should include the main vacuum body, the hose, the wand (often telescopic), various attachments like a crevice tool and dusting brush, and either a dust bag (for bagged models) or the dust cup (for bagless versions). Also, confirm the presence of the power cord and any included pre-motor filters.
If any parts are missing or damaged, immediately contact Kenmore customer support for assistance and replacement options. Do not attempt to operate the vacuum if crucial parts are absent, as this could lead to malfunction or damage. Retain the original packaging for potential returns or warranty claims.
Bag or Bagless System – Initial Configuration
Your Kenmore Progressive Vacuum will either utilize a traditional bag system or a bagless dust cup. For bagged models, ensure the correct bag type is used, as specified in your model’s documentation. Carefully insert the bag into the designated compartment, aligning the seals to prevent leakage. Confirm a secure fit before proceeding.

If you have a bagless vacuum, locate the dust cup and ensure it’s properly seated and locked into place. Check for any obstructions in the dust path. Some bagless models may have a pre-filter within the dust cup; ensure this is clean and correctly positioned.
Proper initial configuration is crucial for optimal performance. A poorly fitted bag or incorrectly installed dust cup can significantly reduce suction power and potentially damage the motor. Always refer to the detailed diagrams in your manual for specific instructions related to your vacuum’s model.
Hose and Wand Connection
Connecting the hose and wand correctly is fundamental to your Kenmore Progressive Vacuum’s operation. Begin by locating the hose inlet on the vacuum body – it’s typically a large, circular opening. Firmly insert the hose end into this inlet, ensuring a secure and airtight connection. You should hear a click or feel resistance when properly connected.
Next, attach the wand to the other end of the hose. Again, align the connection points and push firmly until you feel a secure lock. Some models feature a release button; familiarize yourself with its location and function.
Verify the entire assembly is stable and free from leaks. A loose connection will drastically reduce suction. Regularly inspect the hose and wand for cracks or damage, as these can compromise performance. Proper connection ensures efficient dirt and debris removal throughout your home.
Operation and Usage
Kenmore’s design prioritizes user experience, offering intuitive controls and versatile features for effective cleaning across various surfaces within your living space.
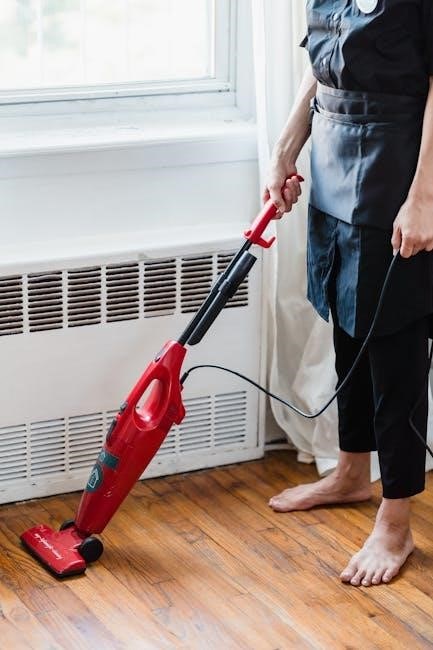
Powering On/Off and Basic Controls
Operating your Kenmore Progressive vacuum is designed for simplicity and ease of use. To power on, locate the main power button, typically situated on the vacuum body or handle – a single press initiates operation. The power button often incorporates an indicator light, illuminating to confirm activation.
Basic controls generally include a power switch and suction control settings. Some models feature a multi-function control dial allowing for adjustments to both power and floor type selection. Familiarize yourself with these controls before initial use.
The handle often houses additional controls for features like brush roll activation or edge-cleaning mode. Ensure the vacuum is properly assembled with the hose and wand securely connected before powering on. Always inspect the dust container or bag to ensure it’s correctly installed to maintain optimal suction. Remember to consult your specific model’s diagram for precise control locations.
Adjusting Suction Power
Kenmore Progressive vacuums often feature variable suction control, allowing you to optimize cleaning performance for different surfaces. Lower suction settings are ideal for delicate fabrics, curtains, or lightweight rugs, preventing damage and ensuring efficient dust removal. Higher settings deliver maximum power for deep cleaning carpets and removing embedded dirt.
Suction adjustment is typically achieved via a dial, slider, or electronic controls located on the vacuum body or handle. Experiment with different settings to find the optimal balance between cleaning power and surface protection.
Reducing suction can also be beneficial when cleaning hard floors to prevent the vacuum from sticking or scattering debris. Regularly adjusting suction power not only enhances cleaning effectiveness but also contributes to the longevity of your vacuum’s motor and components. Always refer to your model’s specific instructions for detailed guidance.
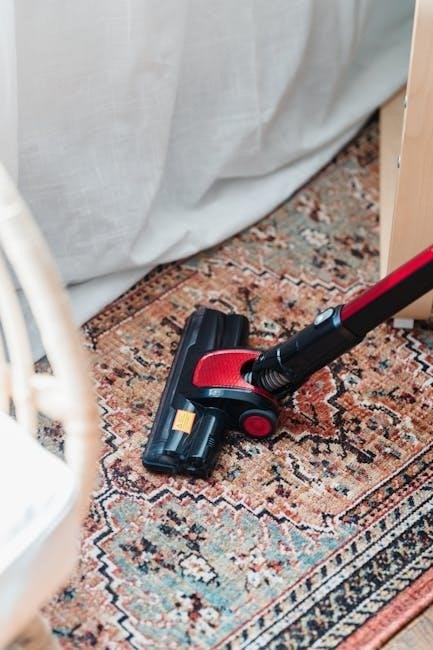
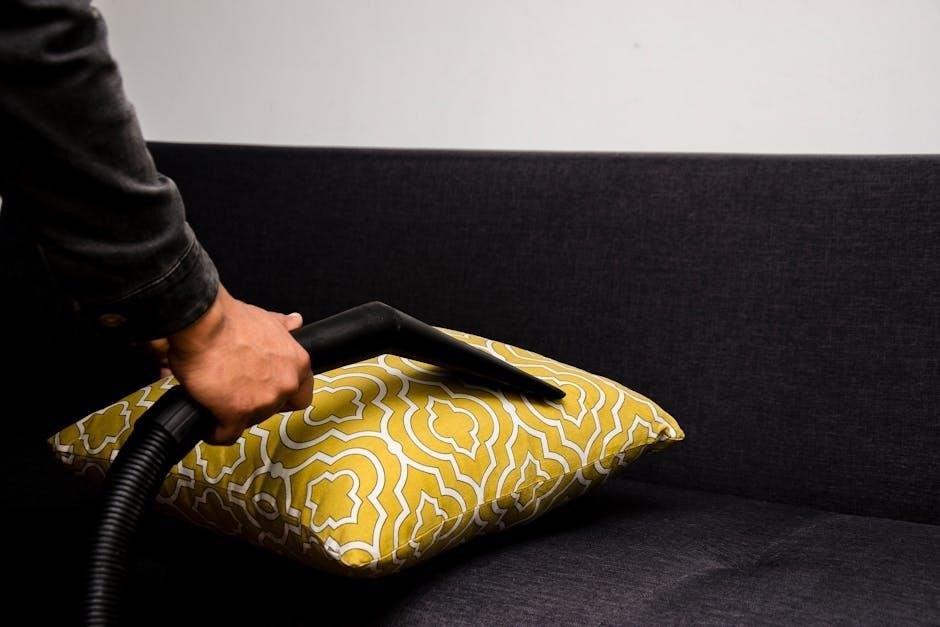
Using Different Attachments (Crevice Tool, Dust Brush, etc.)
Kenmore Progressive vacuums are designed for versatility, often including a range of attachments to tackle diverse cleaning challenges. The crevice tool excels at reaching tight spaces like corners, along baseboards, and between cushions. A dust brush is perfect for gently cleaning delicate surfaces, furniture, and lampshades, preventing scratches.
Other common attachments may include an upholstery tool for fabrics, a pet power brush for removing hair, and extension wands for increased reach. To use an attachment, securely connect it to the vacuum’s hose or wand, ensuring a snug fit.
Adjust the suction power as needed based on the surface being cleaned. Proper attachment usage maximizes cleaning efficiency and protects your home’s furnishings. Regularly inspect attachments for blockages and clean them as necessary for optimal performance.

Maintenance and Troubleshooting
Kenmore appliances, including vacuums, are built to last, but require routine upkeep for peak performance; addressing issues promptly ensures continued, reliable operation.
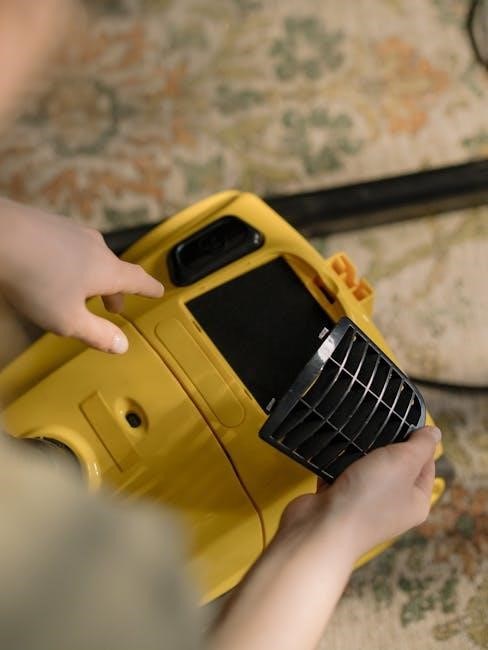
Filter Cleaning and Replacement
Maintaining your Kenmore Progressive vacuum’s filter is crucial for optimal suction and air quality. Regularly cleaning or replacing the filter prevents dust and debris buildup, which can significantly reduce performance and potentially damage the motor. The frequency of cleaning depends on usage, but a general guideline is to check the filter monthly.
For washable filters, gently rinse with cool water until the water runs clear, ensuring it’s completely dry before reinstalling – typically 24 hours. Non-washable filters should be tapped gently to remove loose debris. Replacement filters are readily available and should be changed every six to twelve months, or as needed, depending on use.
A clogged filter can lead to overheating and loss of suction. Always refer to your specific model’s manual for the correct filter type and replacement instructions, as variations exist within the Progressive series. Ignoring filter maintenance compromises cleaning effectiveness and shortens the vacuum’s lifespan.
Brush Roll Maintenance
The brush roll is vital for effective carpet cleaning on your Kenmore Progressive vacuum. Regularly inspect the brush roll for tangled hair, threads, and debris, as these obstructions diminish cleaning performance and can strain the motor. Power off and unplug the vacuum before any maintenance.
To remove the brush roll, consult your model’s manual for specific instructions, as access methods vary. Use scissors or a seam ripper to carefully cut and remove tangled materials. Avoid pulling forcefully, which could damage the bristles. Periodically, check the brush roll’s end caps for wear and tear, replacing them if necessary.
A well-maintained brush roll ensures optimal agitation and dirt removal. Ignoring brush roll maintenance leads to reduced cleaning power and potential damage to both the brush roll and the vacuum itself. Consistent care extends the life of your Kenmore Progressive vacuum.
Troubleshooting Common Issues (Loss of Suction, Overheating)
Loss of suction is a frequent concern. First, check if the dustbin or bag is full and empty it accordingly. Inspect the hose, wand, and attachments for clogs, removing any obstructions. Ensure all connections are secure and airtight. A clogged filter significantly reduces suction; clean or replace it as needed.
Overheating can indicate a blocked airflow. Immediately turn off and unplug the vacuum. Allow it to cool completely before inspecting for blockages in the hose, brush roll, or filters. Avoid using the vacuum on excessively thick carpets for extended periods, as this can contribute to overheating.
If problems persist, consult the full manual for model-specific troubleshooting steps. Ignoring these issues can lead to further damage and reduced vacuum performance. Regular maintenance prevents many common problems.

Advanced Features & Techniques
Kenmore dishwashers are fully featured and built to last, designed with the user in mind, offering reliability at every price point for optimal cleaning.
Pet Hair Removal Techniques
Effectively tackling pet hair requires utilizing specific techniques and attachments with your Kenmore Progressive vacuum. Begin by employing the motorized brush head, designed to agitate and lift embedded hairs from carpets and upholstery. Regularly cleaning the brush roll is crucial; accumulated hair diminishes its effectiveness.
For hard floors and delicate surfaces, switch to the dusting brush attachment to gently capture loose pet hair without scratching. Consider using the crevice tool to reach tight spaces like between cushions and along baseboards where pet hair frequently accumulates.
Increasing the suction power can also enhance hair removal, but be mindful of delicate fabrics. Frequent vacuuming – ideally several times a week – prevents hair buildup and maintains a cleaner home environment. Remember to empty the dustbin or replace the bag regularly for optimal performance. Utilizing HEPA filtration further traps allergens associated with pet dander, improving air quality.
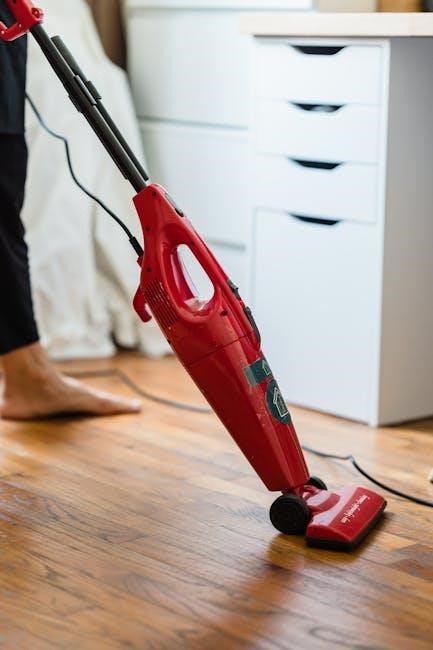
Cleaning Different Floor Types (Hardwood, Carpet, Tile)
Your Kenmore Progressive vacuum offers versatility for various floor surfaces. For hardwood floors, utilize the bare floor setting or switch to a brush head designed specifically for hard surfaces to avoid scratching. Lower the suction power to prevent lifting or damaging the finish.
On carpets, employ the carpet setting and utilize the motorized brush roll to agitate and lift dirt and debris. Adjust the height setting to match your carpet’s pile for optimal cleaning. For tile floors, a combination of suction and a soft brush attachment works effectively, reaching grout lines and removing embedded dirt.
Regularly check and clean the brush roll to maintain peak performance across all floor types. Consider using HEPA filtration to trap dust and allergens, improving overall air quality within your home. Proper technique ensures a thorough clean without causing damage.
Understanding HEPA Filtration
HEPA (High-Efficiency Particulate Air) filtration is a crucial feature in your Kenmore Progressive vacuum, designed to capture microscopic particles that standard filters miss. These include dust mites, pollen, pet dander, mold spores, and other allergens, significantly improving indoor air quality.
A true HEPA filter must remove at least 99.97% of particles 0.3 microns in diameter. Your vacuum’s HEPA filter works by trapping these particles within a dense network of fibers, preventing them from being recirculated back into the air. Regular filter maintenance – cleaning or replacement as recommended – is vital for maintaining its effectiveness.
A clogged HEPA filter reduces suction power and can strain the motor. Check your vacuum’s manual for specific filter replacement intervals. Utilizing HEPA filtration is particularly beneficial for allergy sufferers and households with pets, creating a healthier living environment.
No Responses